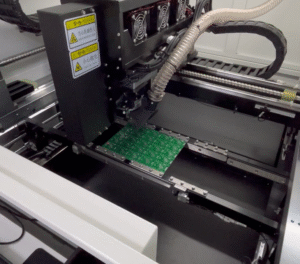


A CCD laser marking machine can place a perfect mark — yet six months later that mark may be unreadable. On our Dongguan production line, we test for exactly that failure.
To verify marking durability and wear testing on a CCD laser marking machine, check abrasion resistance, chemical and corrosion resistance, thermal stability, code readability after exposure, and batch consistency. Compare contrast ratio, mark depth, and scan grades before and after each test against defined pass/fail criteria.
Here is the problem in plain terms. A mark that looks sharp today can fade, chip, or lose contrast in the field. The CCD camera gives you placement precision. It does not give you wear resistance. Those are two separate things, and this article walks through how to test both properly.
How do I test if CCD laser marking survives long-term wear and abrasion?
Last year our QC team rubbed a batch of marked stainless fittings with abrasive cloth for a full shift. The customer's field returns told us why that step matters.
Test long-term wear by recording baseline contrast ratio, depth, and code grade, then running Taber abrasion cycles, manual rub tests with abrasive cloth, and repeated handling cycles. The mark passes if it stays readable, scannable, and dimensionally intact after the exposure that matches its service life.
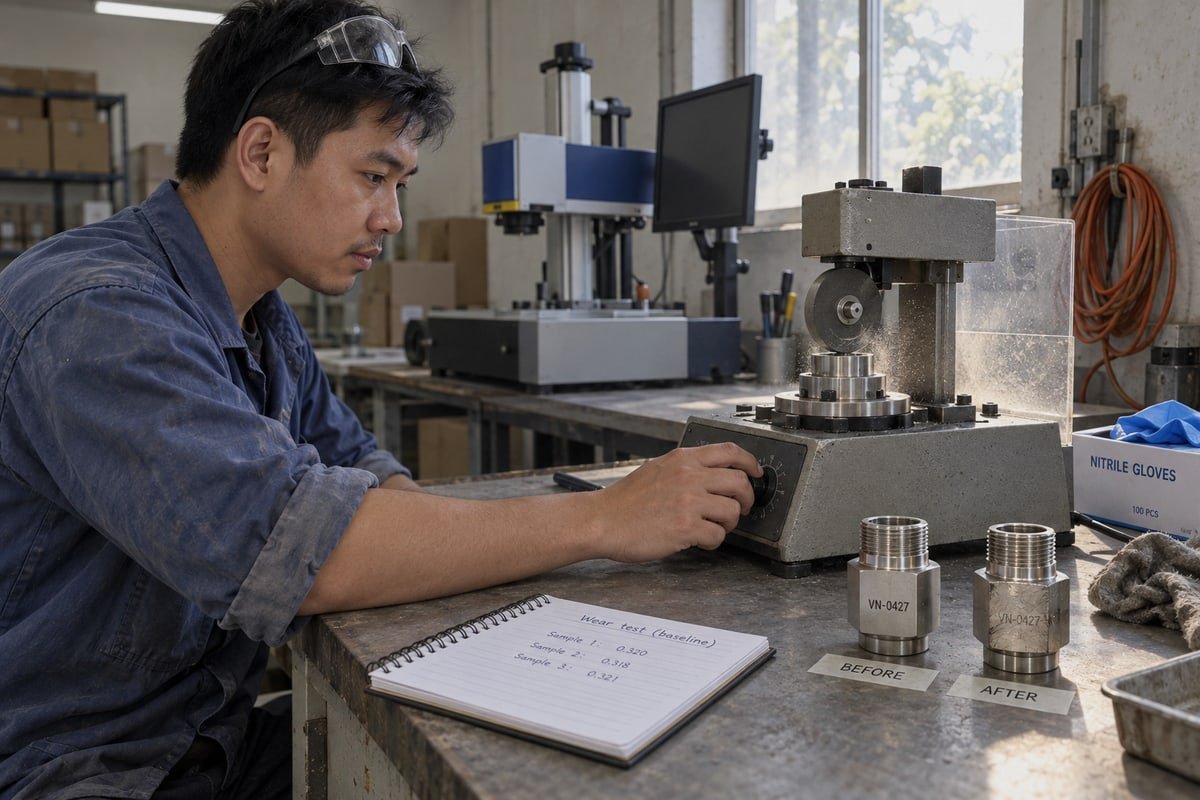
Some buyers tell me testing is a waste of time because laser marks are permanent. I understand the logic, but it misses the point. A mark can physically exist and still fail functionally. If the contrast drops below what a scanner or an operator needs, the mark is dead even though it is still there. Our first check on every new application is a simple friction test: rub the mark repeatedly and confirm it stays clear.
Establish a Baseline Before You Rub Anything
You cannot measure decay without a starting point. Before any wear test, we record contrast ratio measurement values, mark dimensions, depth or profile, surface roughness, and the barcode or Data Matrix 1 grade. We also photograph the mark edges. This before/after comparison shows whether the laser settings themselves created a weak mark from day one.
Choose the Abrasion Method That Matches Real Use
No single test proves durability. The right method depends on how the part is actually handled.
| Wear Test | What It Simulates | What to Measure After |
|---|---|---|
| Taber abrasion resistance test | Sliding contact, repeated surface friction | Contrast loss, depth loss, code grade |
| Manual rub with abrasive cloth | Handling, cleaning wipes, glove contact | Visual legibility, edge chipping |
| Insertion/removal cycles | Connectors, tools, consumer parts | Mark geometry, scan success rate |
| Continuous production run | Long-shift marking quality decay | Consistency of depth and clarity over time |
One more point. The CCD system contributes indirectly here. Its positioning accuracy keeps the mark away from edges, seams, and high-contact zones. A mark placed in a low-wear zone survives longer, even with identical laser settings. So verify camera calibration and mark-to-feature alignment as part of your wear plan, not separately from it.
What marking depth and contrast settings give me the most durable results?
Deeper marks last longer, but they also slow down cycle time and risk a wider heat-affected zone 2. We weigh that balance on almost every project we quote.
The most durable results come from deep engraving that removes material on metals, or annealing marks where surface finish matters. Set power and pulse overlap high enough to change the substrate itself, then confirm the outcome with marking depth verification and contrast ratio measurement against your baseline.

Durability starts with the marking mechanism, not the settings menu. A laser mark is only as permanent as the physical change it makes to the material. Here is how the main mark types compare.
| Mark Type | How It Works | Relative Durability |
|---|---|---|
| Deep engraving | Removes material to create a recess | Highest — survives heavy abrasion |
| Annealing / color change | Oxide layer forms under the surface on metals | High — smooth surface, strong contrast |
| Ablation on coatings | Removes coating or anodized layer | Medium — depends on coating adhesion |
| Foaming on plastics | Gas bubbles create raised, light marks | Medium — grade-dependent |
| Surface contrast marks | Shallow color or texture change | Lowest — fades fastest under friction |
Depth alone is not the whole story. Push power too hard and you enlarge the heat-affected zone, which can cause micro-cracking or localized embrittlement around the mark. We inspect the HAZ with high-resolution imaging on critical parts, because a durable-looking mark that weakens the substrate is a worse failure than a faded one.
Pulse overlap and frequency matter too. On some polymer substrates, higher overlap drives the color change deeper into the material. That means surface wear can expose deeper, still-high-contrast layers of the mark — a kind of built-in reserve. On metals, our engineers tune overlap so the engraved floor stays uniform, because uneven depth reads as uneven contrast to both scanners and the CCD inspection camera. After tuning, run marking depth verification on sample parts and lock the recipe before production.
Which materials hold up best when I need scratch-resistant CCD laser marks?
A buyer in Italy once asked me why his ABS housings faded after alcohol wipes while his steel parts stayed perfect. The answer was the substrate, not the machine.
Stainless steel, titanium, and anodized aluminum hold up best for scratch-resistant CCD laser marks, especially with deep engraving or oxide-based marking. Laser-reactive plastics can perform well, but every plastic grade needs individual validation. Coated surfaces are the weakest because the coating, not the mark, usually fails first.
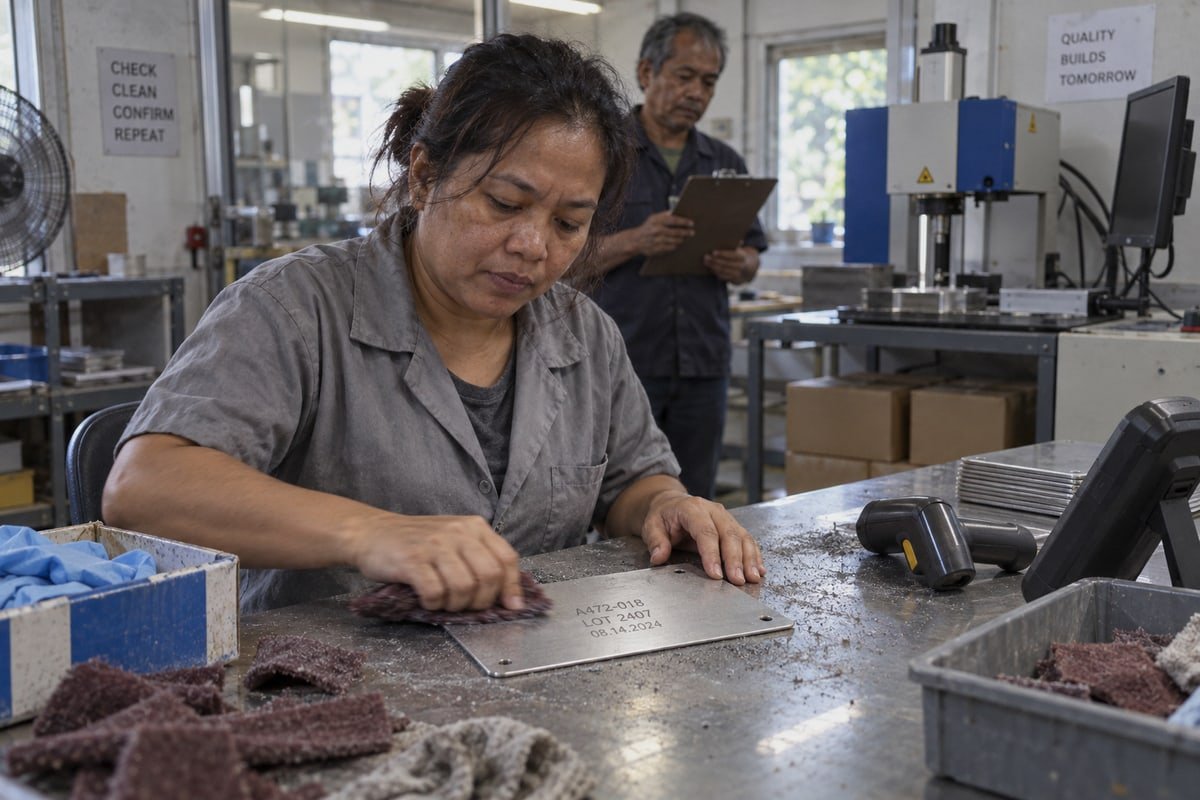
Material choice decides most of your durability outcome before the laser ever fires. Here is the quick comparison we share with customers during solution design.
| Substrate | Best Mark Method | Main Durability Risk | Key Validation Test |
|---|---|---|---|
| Stainless steel / titanium | Deep engraving, annealing | Corrosion in the mark zone | Salt spray testing 3, abrasion |
| Anodized aluminum | Black ablation marks | Anodized layer wear-through | Abrasion, chemical resistance testing |
| ABS, PVC, laser-reactive plastics | Foaming, color change | Contrast loss from solvents and UV | Alcohol wipe, UV exposure |
| Painted / coated metals | Coating ablation | Coating peel or lift at mark edge | Cross-hatch adhesion test |
Metals: Strong, but Verify Corrosion
Metals are the safest bet. Still, marking can disturb the passive layer on stainless steel. That is why we run salt spray testing on marked samples for marine, automotive, and outdoor hardware. We also test corrosion resistance against oil, alcohol, and common industrial chemicals — a wiped mark should show no fading or dissolution.
Plastics: Validate Every Grade
Plastics vary wildly. Two ABS grades from different suppliers can behave completely differently under repeated cleaning. Never assume one plastic result transfers to another. Test each grade with the actual cleaning agents used in the field.
Coated Surfaces and Medical Parts
Coated parts often fail by coating removal rather than mark failure, so a cross-hatch adhesion test around the mark zone is essential. For medical devices, permanence in theory is not permanence in sterilization practice. Laser-marked surgical instruments have been reported to survive at least 500 sterilization and cleaning cycles — that is the benchmark level medical buyers should validate against, including autoclave cycling 4 and disinfectant exposure. High and low temperature cycling belongs in this matrix too, because thermal stress can shift contrast on both plastics and coatings.
How can I verify my CCD laser marking machine meets industry durability standards?
Early in our export business, we learned that permanent-mark claims mean nothing in a customer audit. Documented test conditions and code grades are what pass inspections.
Verify compliance by grading Data Matrix codes under ISO 15415, following MIL-STD-130 permanence rules where required, and documenting abrasion, chemical, thermal, and salt spray results. Then run continuous production trials to prove positioning accuracy and batch consistency hold over long runs.
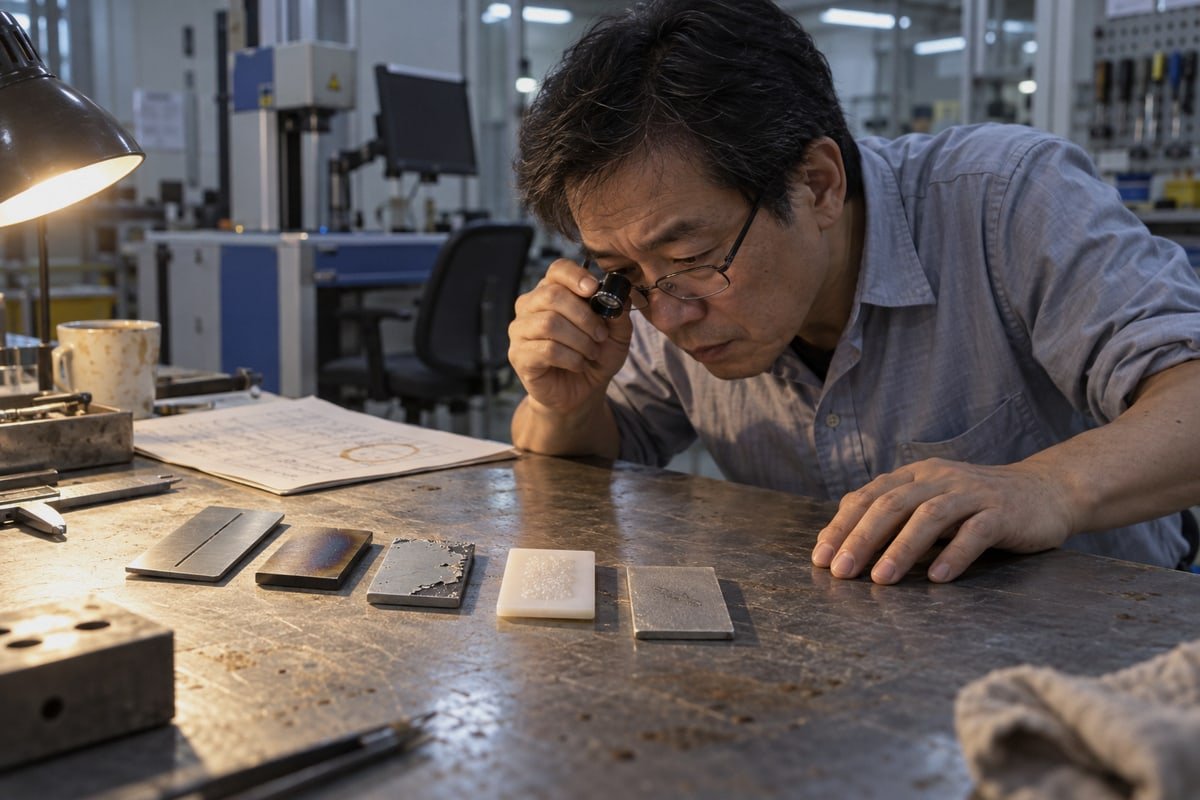
Standards turn "durable" from a marketing word into a measurable number. We recommend this validation sequence to every customer preparing for an audit or a production release:
- Map the requirement. Identify which standard applies to your part and market.
- Mark and baseline. Record code grade, contrast, and depth on fresh samples.
- Expose. Run the wear, chemical, thermal, and environmental tests that match the field environment.
- Re-grade. Scan and grade the same samples again, and use automated visual inspection with the CCD camera to compare post-test contrast ratios and edge definition against the baseline images.
- Run long. Perform a continuous operation trial and check whether marking quality decays over the run. Then verify batch consistency — depth and clarity must stay uniform from the first part to the last after extended production.
- Document everything. Test conditions, cycle counts, and pass/fail criteria go into the record for customer audits.
| Standard / Method | What It Covers | Why It Matters |
|---|---|---|
| ISO 15415 | Data Matrix print quality grading | Defines acceptable code degradation levels |
| MIL-STD-130 | Marking permanence for defense parts | Mandatory for military supply chains |
| Salt spray / thermal cycling | Environmental endurance | Proves outdoor and harsh-condition life |
One caution on accelerated testing. A buyer once told me an accelerated lab pass guarantees ten years in the field. It does not. Accelerated aging is useful, but it only predicts field life when the method has been correlated to that specific application. Also remember that machine vision fails differently than human eyes. Run OCR verification separately from human readability checks, because AI-based readers hit their contrast decay threshold at a different degradation point than a person squinting at the part.
Conclusion
Durable laser marking is a system outcome, not a machine feature. Test abrasion, chemicals, temperature, and batch consistency before release — and your marks will outlast the parts they identify.
Footnotes
1. Explains the barcode symbology referenced for grading mark readability after wear testing. ↩︎
2. Defines the metallurgical concept behind micro-cracking risk from excessive laser power. ↩︎
3. ISO standardizes corrosion resistance test methods like salt spray testing referenced here. ↩︎
4. Updated CDC guideline for sterilization processes including steam autoclaving. ↩︎